Sorry for being late in posting this WIP. The past few days have been quite hectic with other assignment. Anyway here is it and hope whoever come to see this will enjoy it.
=)
The actual real sculpture that I choose is 1:1 scale Gundam RX78-2 statue , if some still havent figure out. (Recommend to watch as anime. =D)

Gundam in Japan
.
For the purpose of doing it, I just first trace the Gundam out from AutoCAD. Then I transfer the AutoCAD drawing into the 3DMAX.

Copy of Gundam Plan drawings.

using AutoCAD layer system, I devide the gundam into
fews part for ease of Constructing it later on.
After transfering it into 3Dmax, I first started working on the arm shoulder.
(Note: the AutoCAD drawing is here as a guideline for making the parts. I cann't or don't know how to extrude it directly.)
Arm + Shoulder.
So the shoulder armor mainly composed of plan and boxes. The plans were edited into editable mesh and were shaped into the desire shape. I use a few mirror, rotation, weld and attach command to do it.


the Joint part/ elbow


the cylinder thing on the elbow is actually tracing the half of the thing and then lathe it.
The Thigh
Not much explaination is needed except that it is mainly mad out of box and copy paste, mirror and etc.


Skirt Amour
Next I moved on to the Skirt Amour.
Here it is completely made out of plans. using editable mesh.
I found out that it is more convinient for me to use the 4 screen instead of 1 in locking the points position at desire place.


the excess part from the plan itself I just delete it.
i use weld to merge a few points together so as it will not look as if the whole thing just overlap with each other but as one whole.

completed 1st part of skirt armour element.

2nd part of the skirt Armour.

After finish each of the individual element, I just attach both together and it is done.
Beam Saber
Just trace half of the Beam saber and lathe it.
Quite funny how the shape can be very different after lathe it eventhough it come from the same thing.


The overview of how far is my progress
Feet
At first I have difficulty of how to do the foot since i cant remenber how the foot looks like in side view. Luckily, i use another photo of gundam to help me up. (the photo is actually a model toy and 1 of many variation of it but still do)


it actually take me a lot of time to do this. like 3 to 4 hours just to come up with this. =.="
(Not sure what happen at that time too.)

Feet all done.
Body (Waist + Chest)
Waist just slapping a few box part together and modified it.


After the waist is the the chest part. Here I seperated it into main 2 part the blue upper body and the chest vein. =)

The top Body.

Chest Vein.
I use plane as my main part to form the outer chest vein. After that I use few thin and Long boxes to form the vein opening. (looks like i am missing a photo here)

Another over/side view of the completed part. (Note: up till now most of these are replicable for later final assemble)
The Leg
By far, this is one of the few parts where it is quite difficult due to the combination of curve and sharp plane. Here for the curve part i use two sphere (the top and the 2nd)


Curve parts made out of two sphere. (green part)
the middle part i just stretch it to proper lenght.
This is the end of the easily replicable part for gundam. Which mean the rest of the gundam part has to be molded individually
Body special part

Cockpit hatch.red tis using plane while green and purple/pink are just boxes.

completed cockpit part and skirt part??

The neck part.
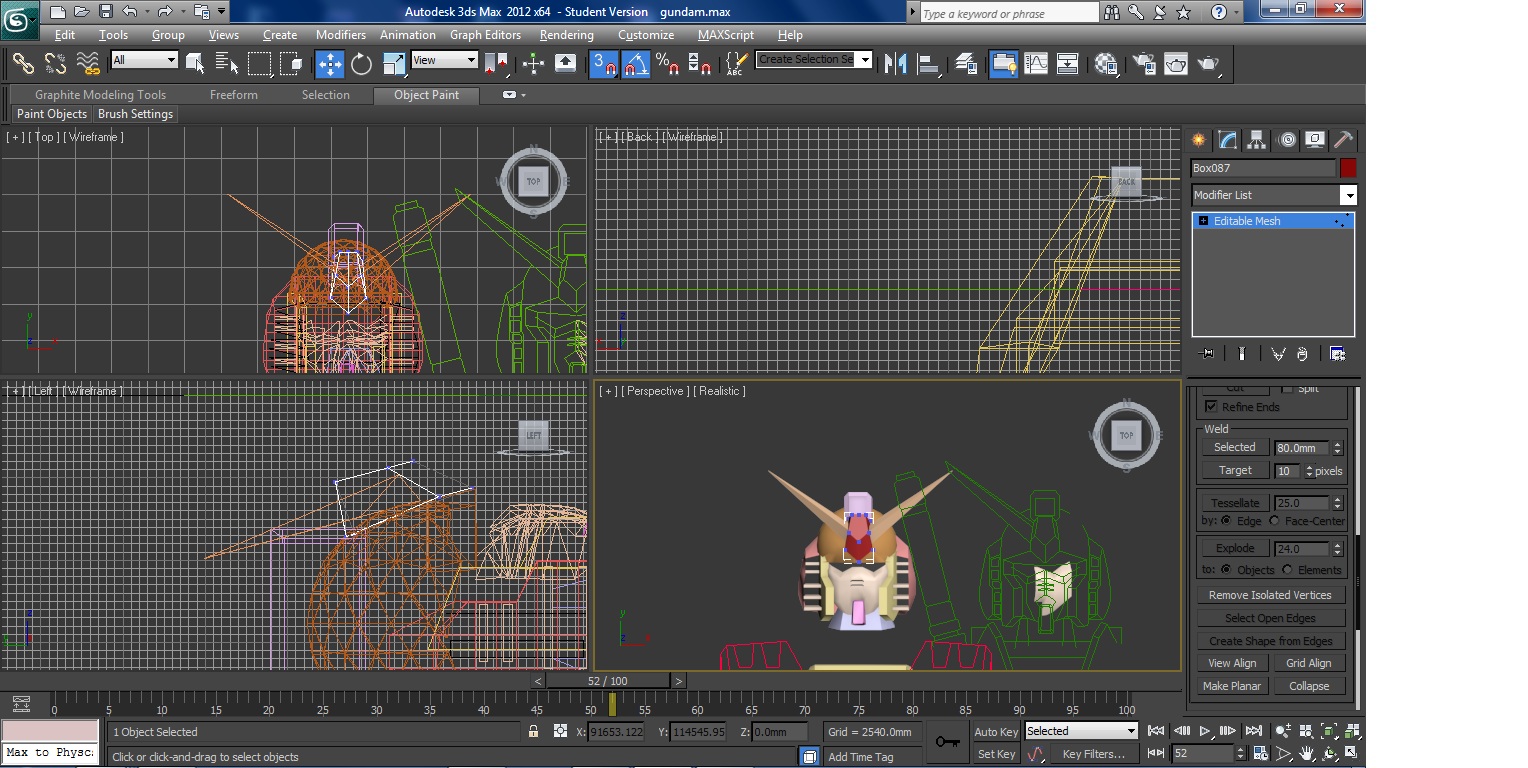
The Gundam Head
By far the hardest part. I did it actually on the day of submission itself. The head is boxy enough to be squarish yet curve enough to be roound face.
Solution : combine geosphere and cylinder for main part and plane and box for the face itself.

the sphere and the cylinder

view of how it is initially. I started by delleting part of the cylinder where the face will be and start curving the top of cylinder into the sphere itself. After that I just delete somepart of the sphere too.

Boxe and Plane for the side plate


Adding another part on top of the head and molded the mouth piece too.

Side plate and the front mask
The V-fin (important trademark of majority Gundam.) I just shaped one side and mirror it for the other side.
Combining and Assemble the parts.


sealing up the gap behind the body Using WELD.
The Hand and fingers,
almost forgot the hand itself. Due to lack of time, It is simply made out of modified box while the finger may be copy but still rearrange to made the fingers look proper and natural.

The finish product of nonstop hardwork.


Rendering in process


Final Thought, it is really interesting way of making me learn how to use 3Dmax better.
some of the stuff i learn though searching for other command buttons, learning from my friends and even by trial and error. But really kind of regret that i was lazy and started only on Monday. It is just enough time for me to juggle with my other assignment and class but not enough for breath (in this case proper sleep and eating cycle). Many people are supprised that i choose this as my sculpture at that time and were amazed i succeed it but the true is i just love Gundam and want to make this assignment as interesting as possible so i just take up the challenge to do it.
Once you made up your mind just stick with it and while you may not enjoy the process now, you will definitely feel proud and happy when you finish it.
Thank You.
That's the spirit!
ReplyDelete