Saturday 29 December 2012

WIP COMP APP 2 FINAL PROJECT VIDEO

WIP and Result.


Computer App 2 Finale Video Assignment.

All the projects or assignments of the whole course run toward an end which is making a at least 1 minute long video/ animation which is the epicdome of the whole course.

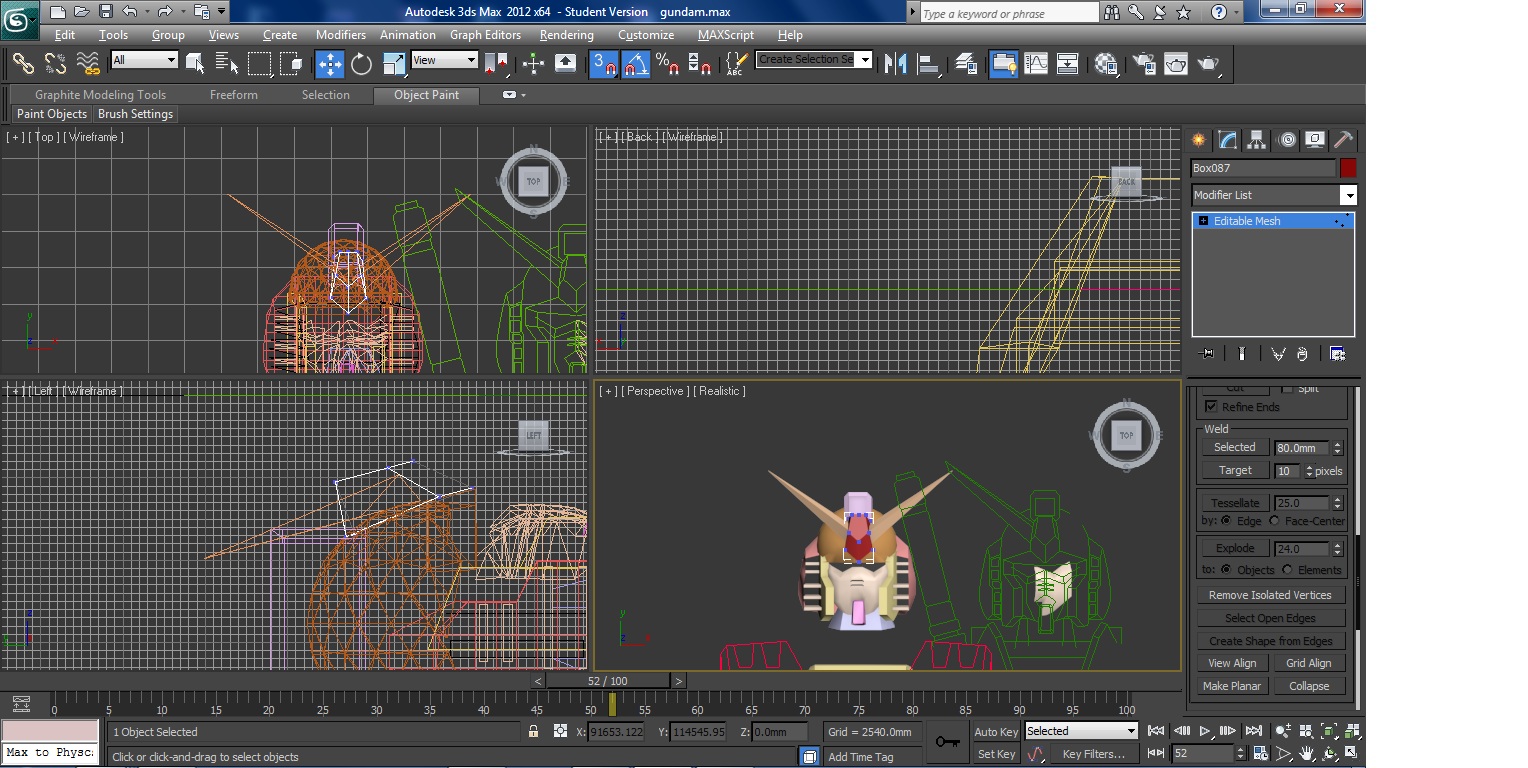
for this assignmet it is require that we use our previous assignment, the project 2a and 2b (house on the hill) and figure out and do an animation of it using 3dsmax. In this I added another TWIST: which is to add in the gundam from my first assignment into the whole animation.

the plan: a toy size gundam suddenly wake up at night and start to run around the house, exploring the house and in the end flying off into the sky!!!

Well that is what i finally decided while doing the animation and rendering. IDEA is FANTASTIC!! EXECUTION i give myself only about 50% as i only about to complete slightly more than half of what i want. and also because of difficulties i faced and unexpected not too good result from my animation rendering.

well as the saying goes: Pictures said a thousand word (or something like that) Well in this case the Video itself: So sit back and enjoy for a while


well should you unable to see it, you can always go to youtube to see it (http://www.youtube.com/watch?v=tPcP5M73TBc)


from the video itself, i think most will already started to form their own opinion. well nothing i can said about it. what done is done.

one thing to note is that this time i didnt do any if at all of the WIP. frankly speacking, the process, the rendering really took a toll on me, worry me sick until i dare not to tourch the computers as they do their work.

Computers i said. well to be exact, it is 5-6 computers in the computer labs in the school. initially, i was planing to use my trusty acer laptop to do the work but only few days before the submission date, (due to unreasonable amount of other assignments pilling together,, competing to be submited on the same day) i found that my computer cannot keep up the workload., crash until i loss count. the only option left is computer lab, commandeering as many computer as i can lay my hand on. (if possible more than 10 computer at my disposal)

my plan is simple: what should have taken 1 whole day to do will be done in just under 3 hours using a few computer to render different segments of that particular scenes. due to lack of time, i sadly made a compromise which is render the animation a lower setting which end result is as you can see in the video (low resolution) (not sure why/ what / how it can be as during the rendering each part look fine)

anyway to cut long story short, the whole animation, short of 2 minutes long video were diveided into few scenes and from each scenes i further divided it into smaller segment so that each computer will be able to handle it and not be crash due to over workload. to keep track of the whole individual segment i actually needed to write down each individual part to keep track which  comp doing what and where is the file.

while other just simply sit/ sleep / walk away while the rendering is in progress, i just use another comp to do the next part of the animation, in this process, i was able to work, finish the wholle rendering just slightly more that a day work (no sleep the day before the submission)

in the end, i just use window live movie maker to help patch up alll the individual segment and finish it with an audio song from the latest gundam animation which i found appropriate for what i intended.

Lastly sorry about this long overdue WIP and also this NOT SO WIP as i dont have any picture to show what i have done. my only concern at that time is to make sure the whole thing get rendered in time and I stressed that I DARE NOT TOURCH THE COMPUTERS while they are rendering, as i have learned a few time which resulted in me having to rendered a few part for few time. Thank YOU.

Friday 19 October 2012

Work in Progress Part 1 (CA2@2P2a)

Work In Progress Part 1........... 20/10/2012
Computer Application 2 Project 2a--- External Housing Views

What to Say........Oh well, This assignment is a combination of two program, The AutoCAD and 3DMax itself. AutoCAD is mainly used to draw the Plan of the House while the 3Dmax is to made the house into 3D.
The House/Building I choose is actually my previous Semester Final Project.

The AutoCAD and the begining

For the first part drawing the plan is easy. Just overlay the hand-drawn plan in AutoCAD and trace it out and layer each part according to height and function specification. However When first trial with it, the effect come out quite sastifactory due to the fact that 3DMax read these line as just lines/spline. This mean even layering it will cause more problem than it is worth it. The Best example is the columns i extruded is just planes with hole in the middle.

After consulting with friends and finding online for solution, I decided to went back into AutoCad and this time converted all the box/column, Wall and other's line into polyline with polyedit function.

PolyEdit (PE) > one line.enter > Join > select other line.enter > Done

After that bothersome modification, when I try 3Dmax it again, this time it is more easier todo and it come up as solid instead a hollow boxes.

AutoCAD drawing

First trial extruding failed
 
However when render, it still appear as box without the top.
 
3DMax and the 1st Part of the Journey
As mention above, finish solving that small part of the problem Things start to progress smoothly.
and by smoothly mean to Smooth for what disaster that was waiting around the next corner.
Anyway, the Basic way of makig this House into 3D is by extruding the box created from AutoCad. Since it is all layer, those with the same height was quickly extrude into the specific height with no worry:
convert the things you selected into Editable Mesh > Swith to Element/Polygon > Highlight/select the part you want > next to the Extrude button type in the height.

For other special case, like the one above, it is first extrude to the height you wanted then switch back to Edit Mesh and choose Mesh/Points?. There I modified the wall length and the add in another box in to made up the slope part. After that I just Attach and Weld both wall together for easy modification later on (if needed)

Another element I noticed when transport AutoCAD into 3DMax and extrude it is that the extruded part come out as black on the working screen. Hence I just simply Add in Material (Color) to temporary assit me in visual while working on building the 3D.

Black on Working screen but can be seen in different Color when Test Render it.

Small Columns that I had missed or All in different height I just create it with Box and Edit Mesh to modified it to each specific location and height.

Black part on the plan drawing actually is plan created when AutoCad was imported into 3DMax due to the PolyEdit Function I used.

I find it convinient and systemmatic to just move every piece of specific Planes created to down away from the in-progress modelling as this help in making sure I will not miss up any and accidentally extrude the wrong one (due to its black color and complicated Plan drawing and Layer)

Work in Progress. selecting and extruding the wall.

Due to the fact that PolyEdit Can made plan object on AutoCAD into Planes, This save time in making Floor as i just as usual extrude it.

Floor
 
Another thing to note is that Extrude is not all the omnipotent command as it left the bottom part of the Extrution to be empty and hollow buy HEY no everyone will specifically check out the bottom, Will THEY?

Progress: All this work up till now only take about 3-4 Hours of straight work (minus the time spend in AutoCAD though)


Calculation:
Since i didnt CAD the elevation, Manual measurement and conversion is still needed to calculate the height of the building.

Overview of the Progress


Test Render


Next WIP (WIP Part 2)

Making all the other detail part and MORE!!
 
Thank You =)

Monday 15 October 2012

Light and Render....... And PINK!!!!

Light and Render...... And PINK!!!!!

15/10/2012

Today the lecture on 3Dmax is to do Lighting of the interior. All related to lighting and on how to set up a good rendering of the whole thing.

So lets get it started......

 
What can i say? I was feeling a bit pink today. So I may as well show it in 3Dmax. Plane + 3 boxes to make up the interior with sphere in the middle as the main focus of the day.
Next I just added material to all the wall and sphere. all of it just matte finissh but in different colour and with camera, test render.
 
For the rendering part, F10 is pressed to reveal a window that allow us to modified the rendering process. (Forgot the proper name for it but can be easily check in the photo below.) It is a program that allow invisible green dots to calculte how everything interact with each other and to produce what result. the lecturer told us to set it at 0.5, 100, 100.
 
 
Arrange the position of the omni light to test how will it look. this is snapshot of render process.
 
 
finish effect. with all the matte finish light were actually reflect around create quite an airy interior.
 
Playing with material effect in the interior
 
 
now moving on to light. PINK LIGHT. =)
cylinder shaped lamp on top of the ceiling, material were modified to glow at 100%.
 
Effect of glowing light in the room. carried a slight hint of PINK. Due to the fact that it glow, the cylinder original color become white. the room create a feeling that it cast no shadow.
 
 
Changing the intensity of the glow.
 
light pole in the room XD
Render in progress.
 
Nice effect.
 
The End Result!!!!


Wednesday 10 October 2012

Landscape and rock!!!

Landscape And Rock!! =)
10/10/2012

After a few days in Singapore doing side visit, I am now back in KL for more challenge.
Today lecture in Comp App 2 is how to make wave and rock!!!! and LAndscape.

Never knew there be a short cut, easy way of making Rock. (Hahahaha, yeah not really something but if apply in other place, that be a diff story.)
 Anyway lets get it started.

First the Wave!!!!

At first i thought it is just a cheesy way of making landscape like you know, Mountain and valley stuff but after a while i realise the potential of the wave like wave of inspiration washing over me. Hahaha.

oops dont have the picture i want. Anyway it has to share with other.

Basically it is plane which was edited into displace. then map it into wave.
from there it only take adjustment to the strength to get the desired affect.
 
For me, I rendered it into water wave with transparency.
 
The Rock
Let the Rock begin. 
Same process as the wave but this time it involved with sphere and map it with Noise.
 
A bit harder to tweet with but in the end made it not to spherical while at the same time not to weird in shape that which does not associated with rock. (Need to study in-depth in this area as it still does not have what i want yet)
 

What can i say, when one say rock, one will expect to have greyish colour for rocks.
put material on it and put it together with the water.
Rendered and the effect look nice enough. (like rock sitting on the sand)
 
Now here the interesting part, the Landscape!!!


3Dmax actually allowed one freedom to "paint" their own landscape.
basically it is plane with a lot of segment and using soft segment, i paint the area i want. red signify the highest point while blue is the lowest. after that i just "pull" it up with selected height. One thing i notice if i stop and go pulling it, the top part will continue be extrude again and again until i stop.

Monday 1 October 2012

GUNDAM 3DMAX WIP (24-28Tth September 2012)


Sorry for being late in posting this WIP. The past few days have been quite hectic with other assignment. Anyway here is it and hope whoever come to see this will enjoy it.

=)

The actual real sculpture that I choose is 1:1 scale Gundam RX78-2 statue , if some still havent figure out. (Recommend to watch as anime. =D)

Gundam in Japan
.
For the purpose of doing it, I just first trace the Gundam out from AutoCAD. Then I transfer the AutoCAD drawing into the 3DMAX.

Copy of Gundam Plan drawings.
 
 
using AutoCAD layer system, I devide the gundam into
fews part for ease of Constructing it later on.
 
 
 After transfering it into 3Dmax, I first started working on the arm shoulder.
(Note: the AutoCAD drawing is here as a guideline for making the parts. I cann't or don't know how to extrude it directly.)
 
Arm + Shoulder.
So the shoulder armor mainly composed of plan and boxes. The plans were edited into editable mesh and were shaped into the desire shape. I use a few mirror, rotation, weld and attach command to do it.


the Joint part/ elbow


the cylinder thing on the elbow is actually tracing the half of the thing and then lathe it.
 
The Thigh
 
Not much explaination is needed except that it is mainly mad out of box and copy paste, mirror and etc.


Skirt Amour

Next I moved on to the Skirt Amour.
Here it is completely made out of plans. using editable mesh.
I found out that it is more convinient for me to use the 4 screen instead of 1 in locking the points position at desire place.

the excess part from the plan itself I just delete it.
i use weld to merge a few points together so as it will not look as if the whole thing just overlap with each other but as one whole.

completed 1st part of skirt armour element.

2nd part of the skirt Armour.

After finish each of the individual element, I just attach both together and it is done.
 
Beam Saber
 
Just trace half of the Beam saber and lathe it.
Quite funny how the shape can be very different after lathe it eventhough it come from the same thing.


The overview of how far is my progress
 
Feet
 
At first  I have difficulty of how to do the foot since i cant remenber how the foot looks like in side view. Luckily, i use another photo of gundam to help me up. (the photo is actually a model toy and 1 of many variation of it but still do)


it actually take me a lot of time to do this. like 3 to 4 hours just to come up with this. =.="
(Not sure what happen at that time too.)
 
Feet all done.
 
Body (Waist + Chest)
 
Waist just slapping a few box part together and modified it.


After the waist is the the chest part. Here I seperated it into main 2 part the blue upper body and the chest vein. =)

The top Body.

Chest Vein.
I use plane as my main part to form the outer chest vein. After that I use few thin and Long boxes to form the vein opening. (looks like i am missing a photo here)

Another over/side view of the completed part. (Note: up till now most of these are replicable for later final assemble)

The Leg

By far, this is one of the few parts where it is quite difficult due to the combination of curve and sharp plane. Here for the curve part i use two sphere (the top and the 2nd)

Curve parts made out of two sphere. (green part)
the middle part i just stretch it to proper lenght.
 
This is the end of the easily replicable part for gundam. Which mean the rest of the gundam part has to be molded individually
 
Body special part 
 

Cockpit hatch.red tis using plane while green and purple/pink are just boxes.

completed cockpit part and skirt part??


The neck part.
 
The Gundam Head
 
By far the hardest part. I did it actually on the day of submission itself. The head is boxy enough to be squarish yet curve enough to be roound face.
Solution : combine geosphere and cylinder for main part and plane and box for the face itself.


the sphere and the cylinder

view of how it is initially. I started by delleting part of the cylinder where the face will be and start curving the top of cylinder into the sphere itself. After that I just delete somepart of the sphere too.

Boxe and Plane for the side plate


Adding another part on top of the head and molded the mouth piece too.

Side plate and the front mask

The V-fin (important trademark of majority Gundam.) I just shaped one side and mirror it for the other side.
 
Combining and Assemble the parts.
 
 Each part are then attach to prper parts with its proper colouring and the rearange/assembel together. Some part I just leave it unattach to its neighbouring part so as i be able to rearang it to position i want.


sealing up the gap behind the body Using WELD.
 
The Hand and fingers,
 
almost forgot the hand itself. Due to lack of time, It is simply made out of modified box while the finger may be copy but still rearrange to made the fingers look proper and natural.
 
 
The finish product of nonstop hardwork.


Rendering in process


Final Thought, it is really interesting way of making me learn how to use 3Dmax better.
some of the stuff i learn though searching for other command buttons, learning from my friends and even by trial and error. But really kind of regret that i was lazy and started only on Monday. It is just enough time for me to juggle with my other assignment and class but not enough for breath (in this case proper sleep and eating cycle). Many people are supprised that i choose this as my sculpture at that time and were amazed i succeed it but the true is i just love Gundam and want to make this assignment as interesting as possible so i just take up the challenge to do it.
 
Once you made up your mind just stick with it and while you may not enjoy the process now, you will definitely feel proud and happy when you finish it.
 
Thank You.